Once you have all your samples loaded into the editor's mapping window, and have them in the desired ranges, then you are ready to export.
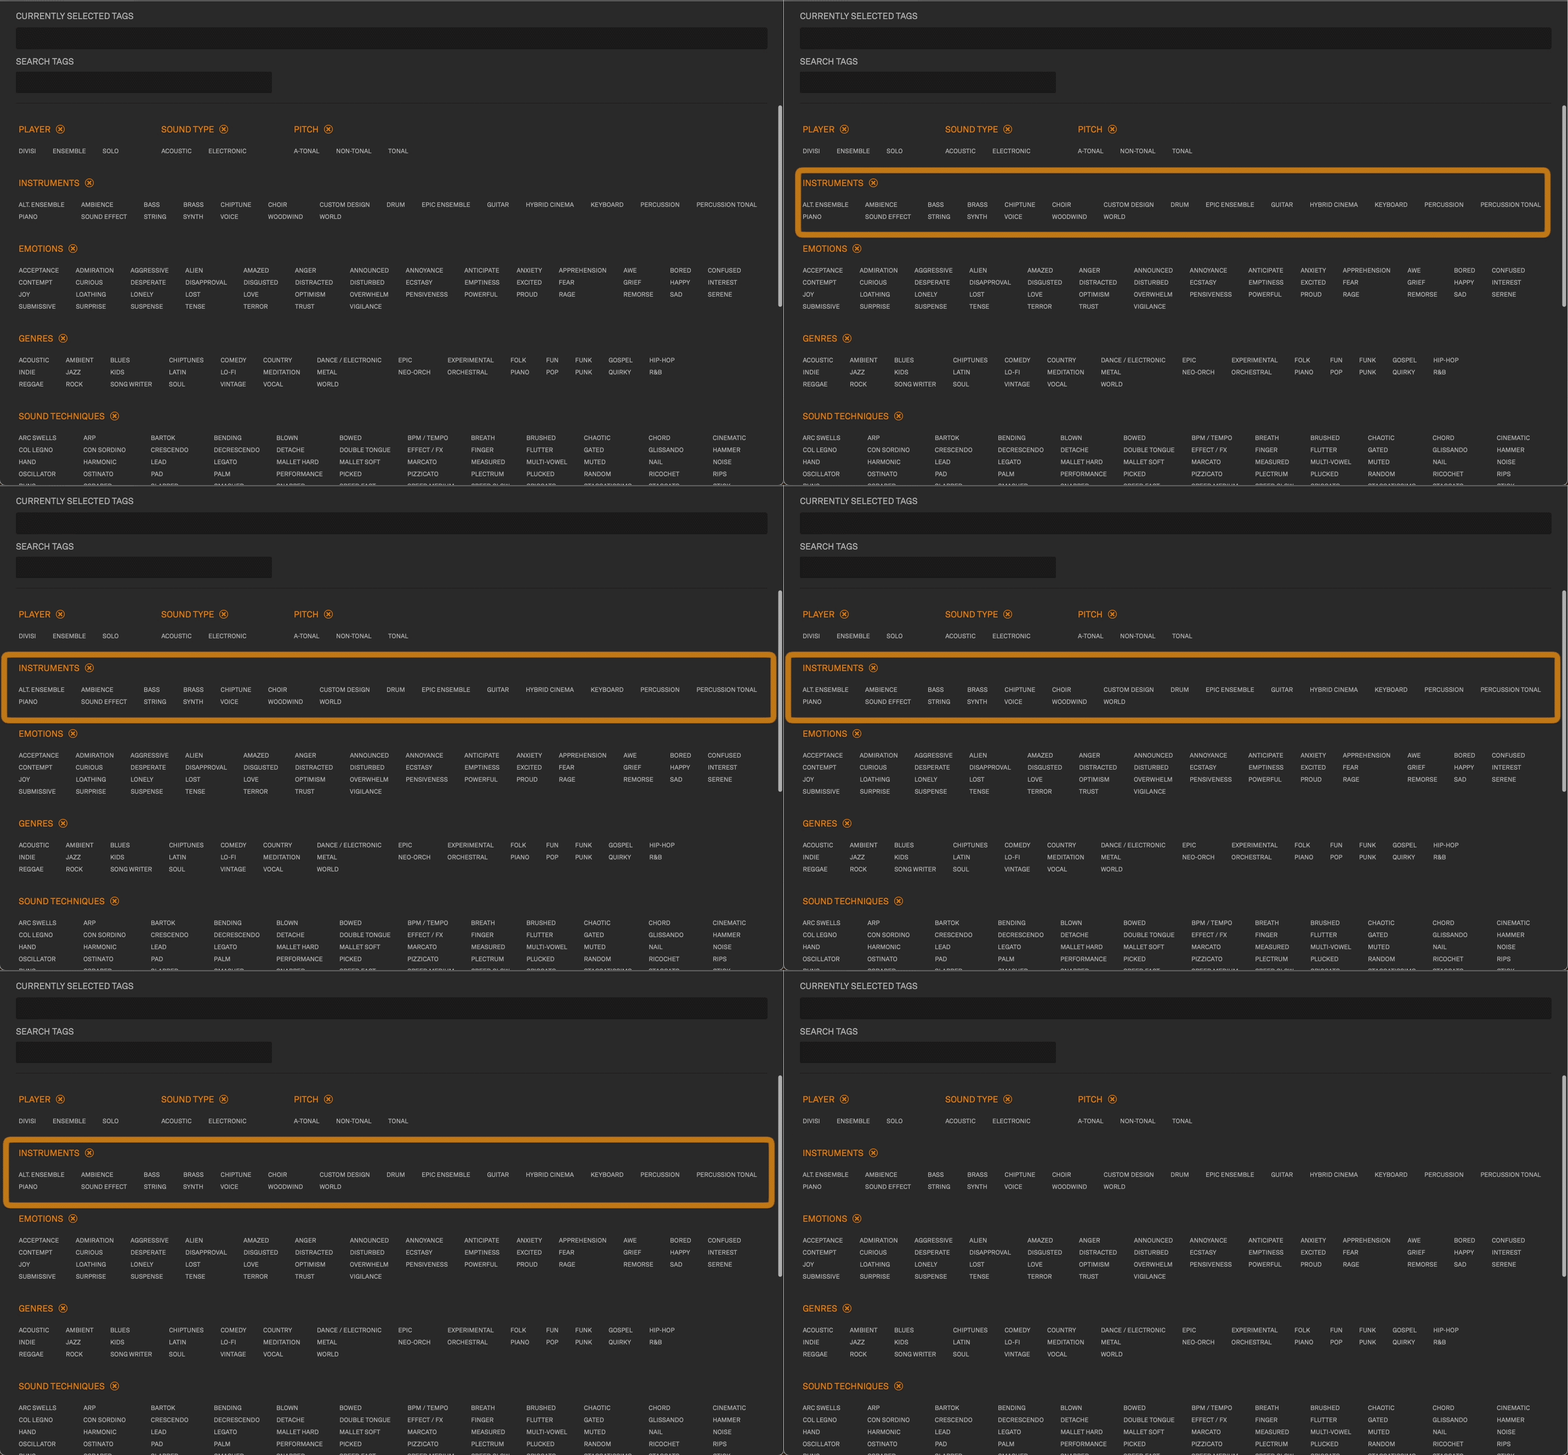
First, we recommend opening the Tagging window. This can be done by clicking Window > Tagging Window. From here, make sure to select the appropriate Instrument tag, as any parts that are exported without an instrument tag will load as "unclassified" within Soundpaint.

Once the desired tags are selected, click File > Generate Part. You will then be prompted to name the part, then select a location to export your part to. We recommend saving it in a customer user parts folder in the same directory you keep the rest of your Soundpaint libraries in.
Once you select the location, the part will automatically be saved there. Soundpaint will then add the location to its directories. We recommend performing a full rescan within Soundpaint once this is done to ensure the part is visible within the Engine.